Building small Microphones for Field Use
Over the last few years we have had some questions from fellow researchers regarding the microphones that we use with our hanging digital voice recorders. Most want to know where we got them, how much they cost, etc. We were originally buying them off of Ebay for anywhere from $10 to $25 dollars, some of these did a good job and others not so much. Eventually we decided to take one apart so that we could see how they were wired with an aim toward perhaps trying our hand at building some ourselves. It turns out that building them is cheaper than buying if you have the time and the need for more than 2 or 3 mics. After some trial and error with several brands of microphone capsules we finally hit on a good combination of parts to produce quality field recordings. What follows are the part numbers and step by step photos for building your own microphones that when done should cost around $5 each. You will need a soldering gun (preferably with a fine tip), solder, small gauge wire, some heat shrink tubing (for water proofing) and some stereo/mono headphone jacks.
The headphone jacks can be purchased from Radio Shack as a 2 pack for $4 for the stereo version (click here for the part number). Mono jacks can also be used for this application and may be slightly cheaper if you go this route. These are the most expensive part needed, they consist of the plastic screw on cover and the jack itself. The Microphone capsule is purchased from Mouser Electronics, these sell for $1.56 each in quantities of 24 or less. Wire for making the connections will be needed but each mic only uses about 3 inches of wire total so you won't need much, Gauge 22AWG works well for this application. The heat shrink tubing can be purchased from Radio Shack in a variety pack, you will be looking for the 3/8ths inch diameter size. This package will provide you with some 3/8ths inch size but it will only be enough for 2 or 3 mics. If you are looking to do more than this you can buy 3 foot lengths of 3/8ths size heat shrink tubing for under 2 dollars at Altex.
A brief description of the process is to solder wires to the negative post and the two positive posts on the headphone jack. Cut off the strain relief from the plastic cover as shown in the pictures. Screw on the plastic cover once the wires at soldered to the posts, solder the wires to the correct posts on the microphone capsule. At this point test to make sure all connections are working correctly by plugging into your voice recorder and doing a quick test recording, if all sounds good you are ready to apply the heat shrink tubing. Slide the tubing over the mic and once in the correct position apply heat to the shrink tubing to have it seal off the electical connections.
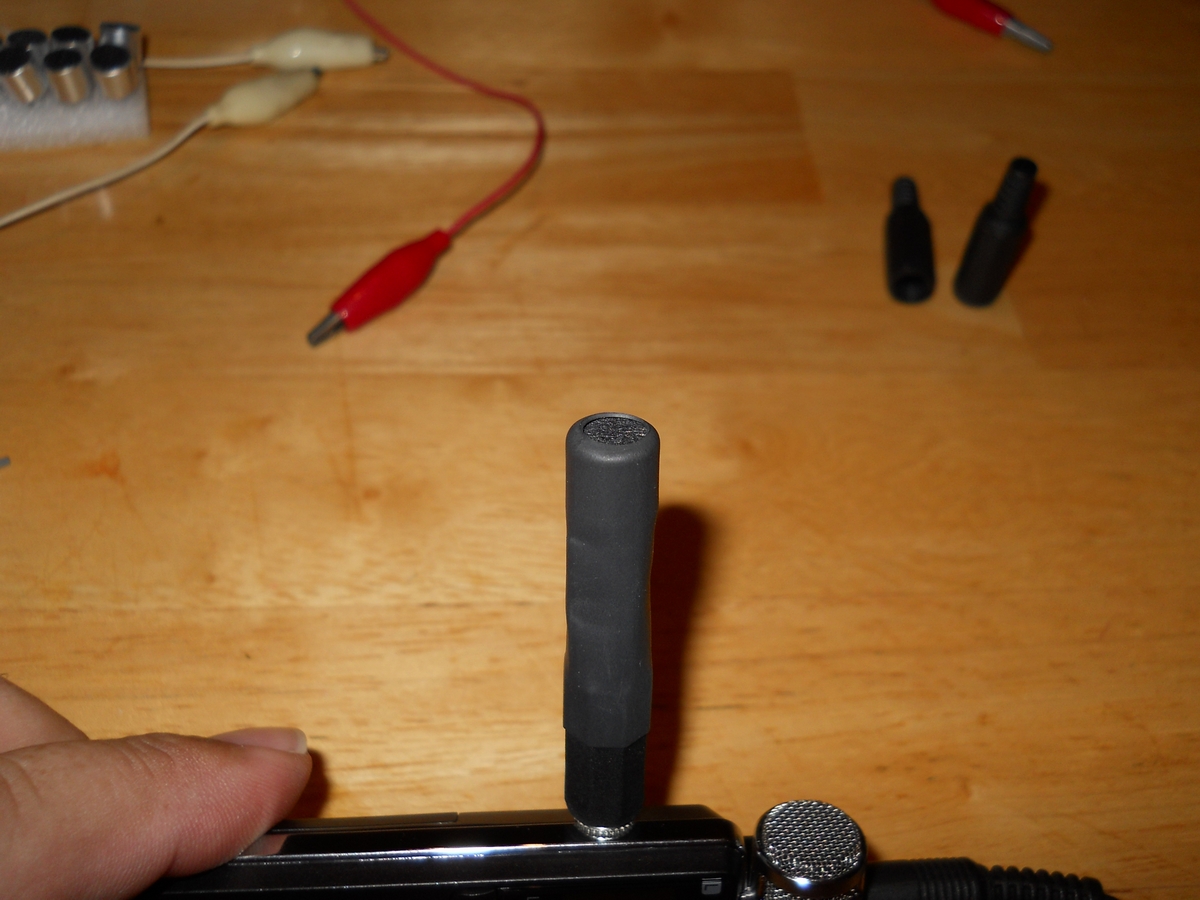
Another consideration as you have your completed microphone is if you should add a wind filter, you may be able to find these at an electronics store. We make our own and have supplied a picture of what one might look like. We take a simple block of foam and cut out a piece that fits over the mic to keep wind noise to a minimum. Some of our team prefer to cut these down so that it is not as large as the one pictured. There is a secondary function to this addition and that is if you are recording overnight and rain passes through your research area, a foam block of sufficient size will prevent water from damaging the mic electronics and will not become water logged to the point of completely cutting off audio resulting in muffled recordings. We have included a photo showing a typical foam block that we might use, these have been in the field during some extended periods of heavy rain and have not become water logged to the point of damaging the mic or negatively impacting the resulting recordings.
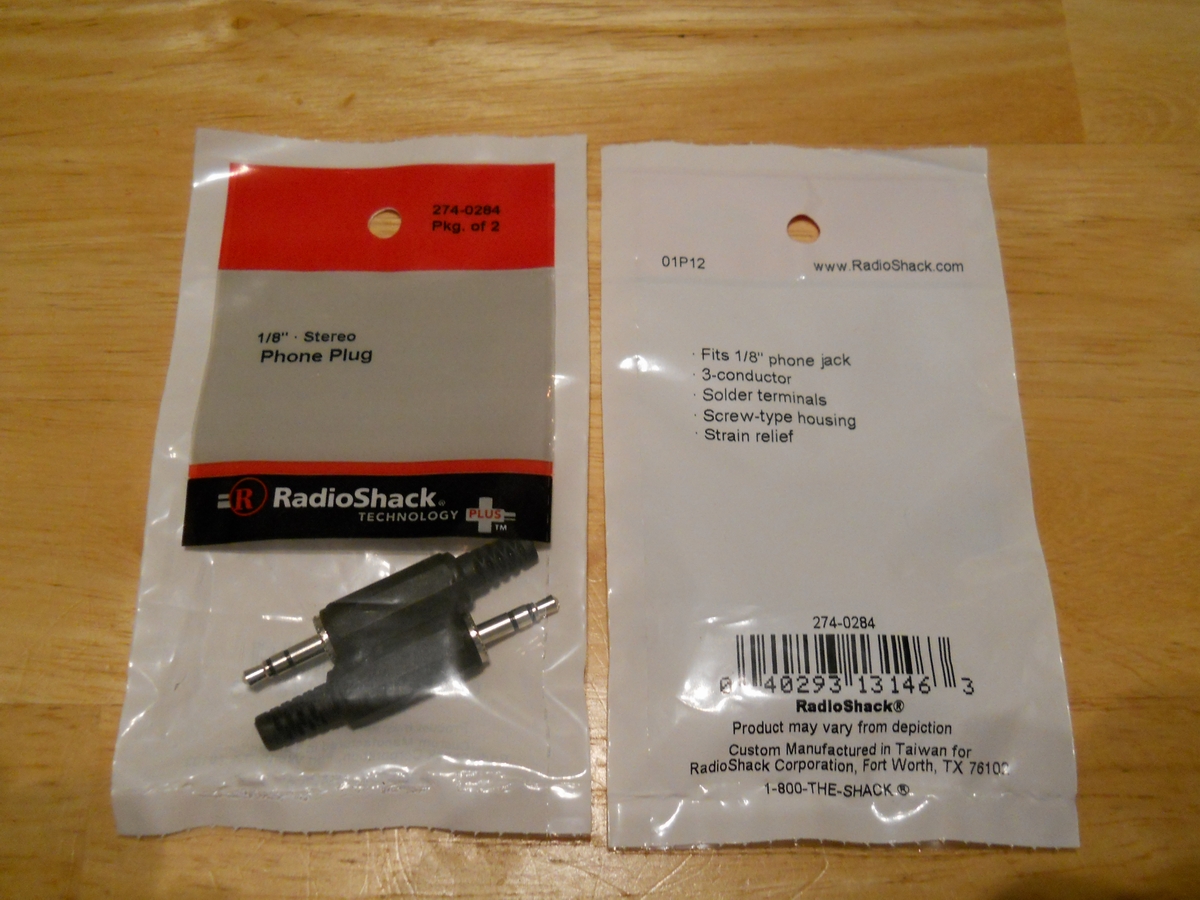
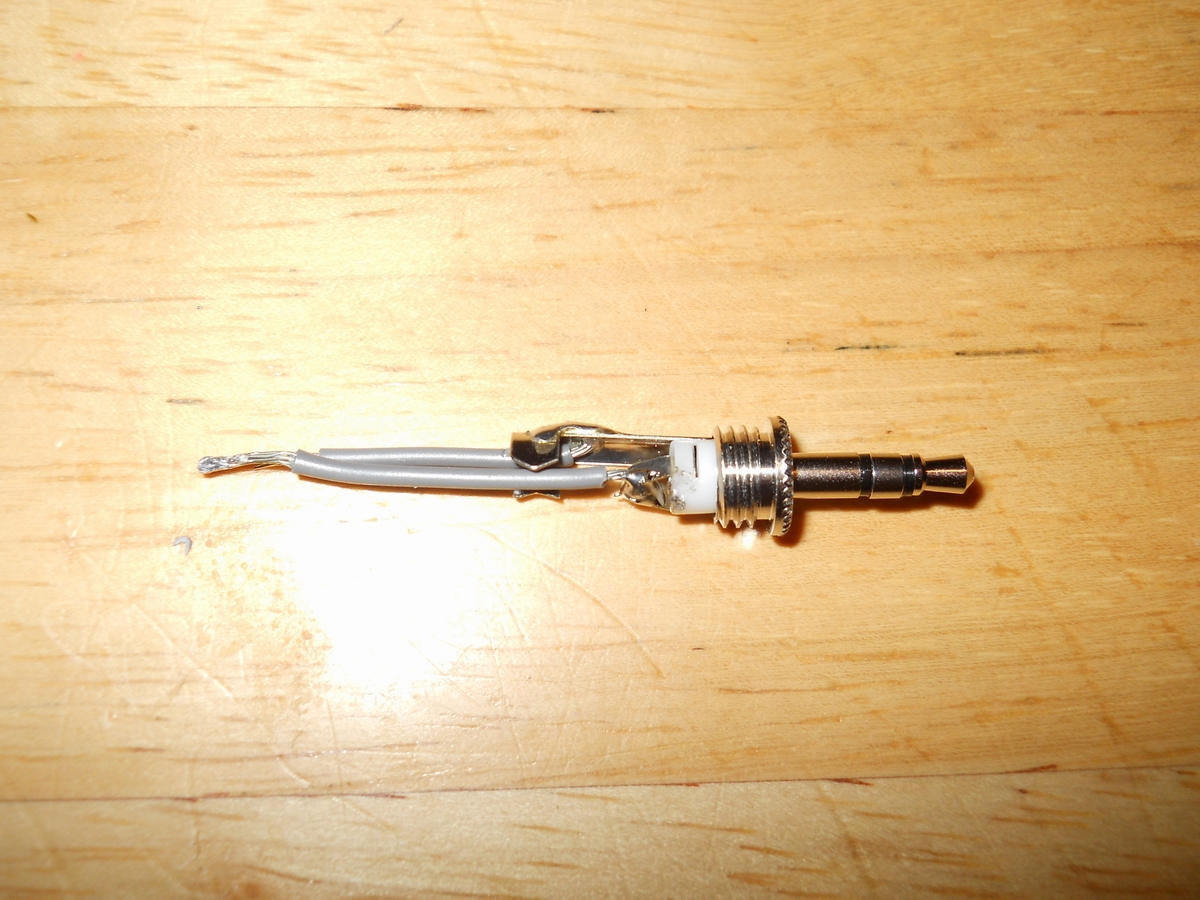
The Stereo Microphone jacks available from Radio Shack.
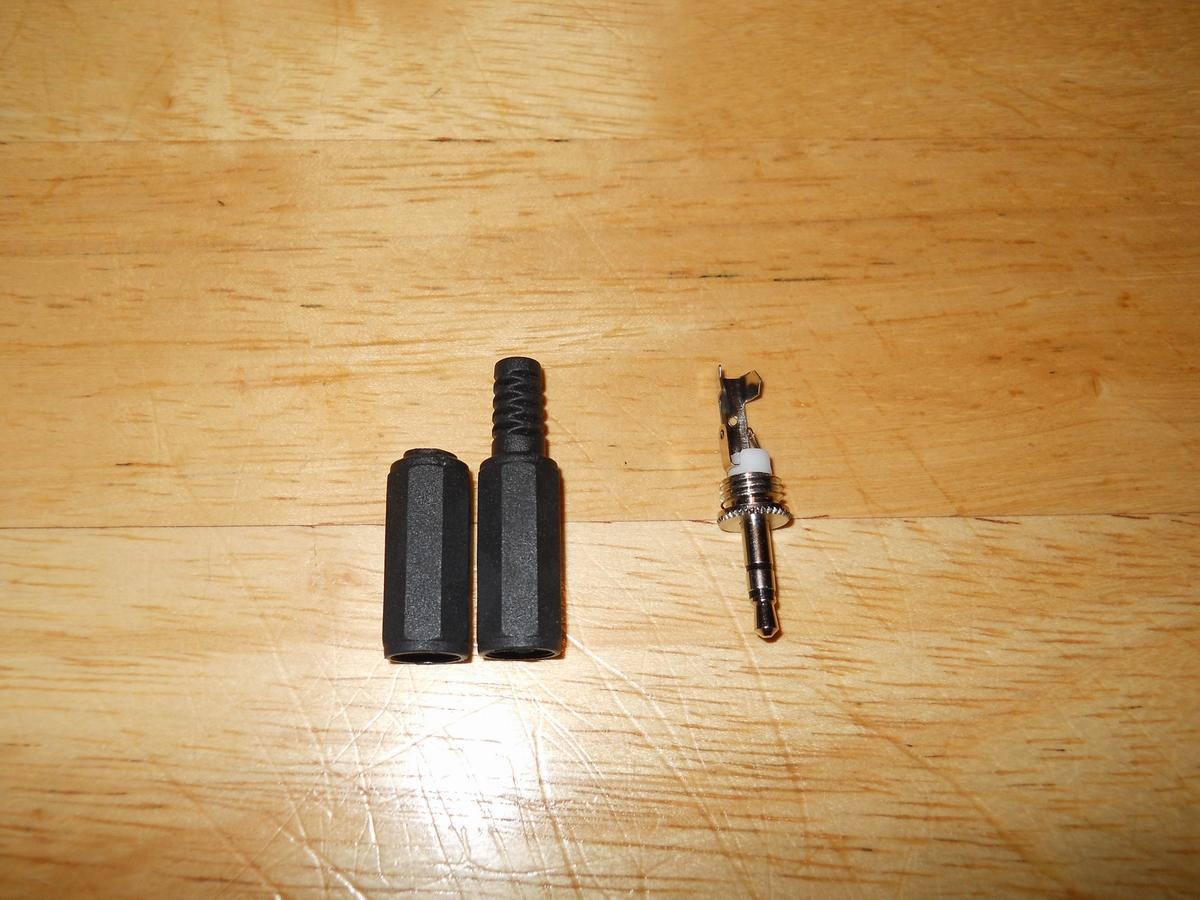
Photo showing the strain relief tip cut off for our purposes.
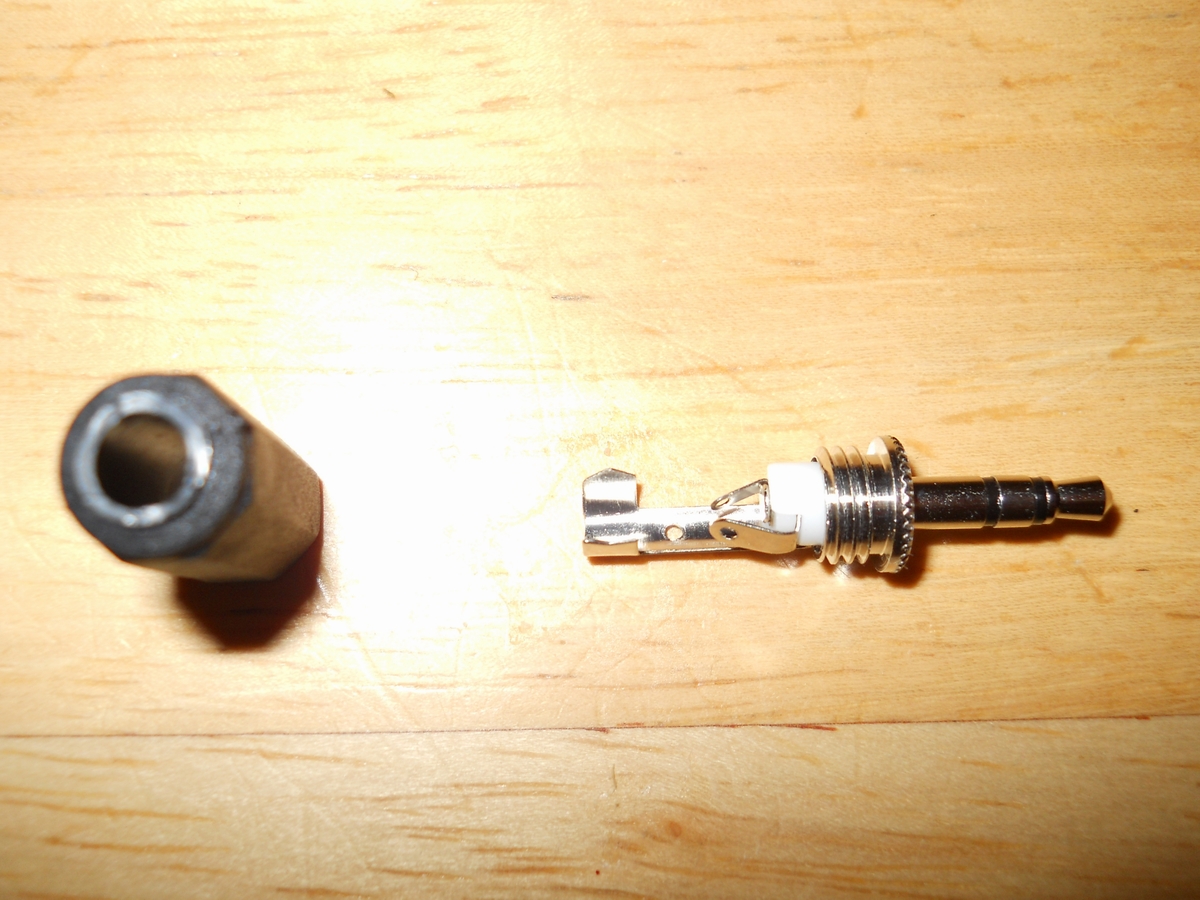
Closeup showing the left and right channel tips bent together so that we can gang the channels together. This results in left and right channels that are identical audio, true stereo can still be achieved if desired by inputing 2 mics through a stereo Y adaptor plugged into the recorder.
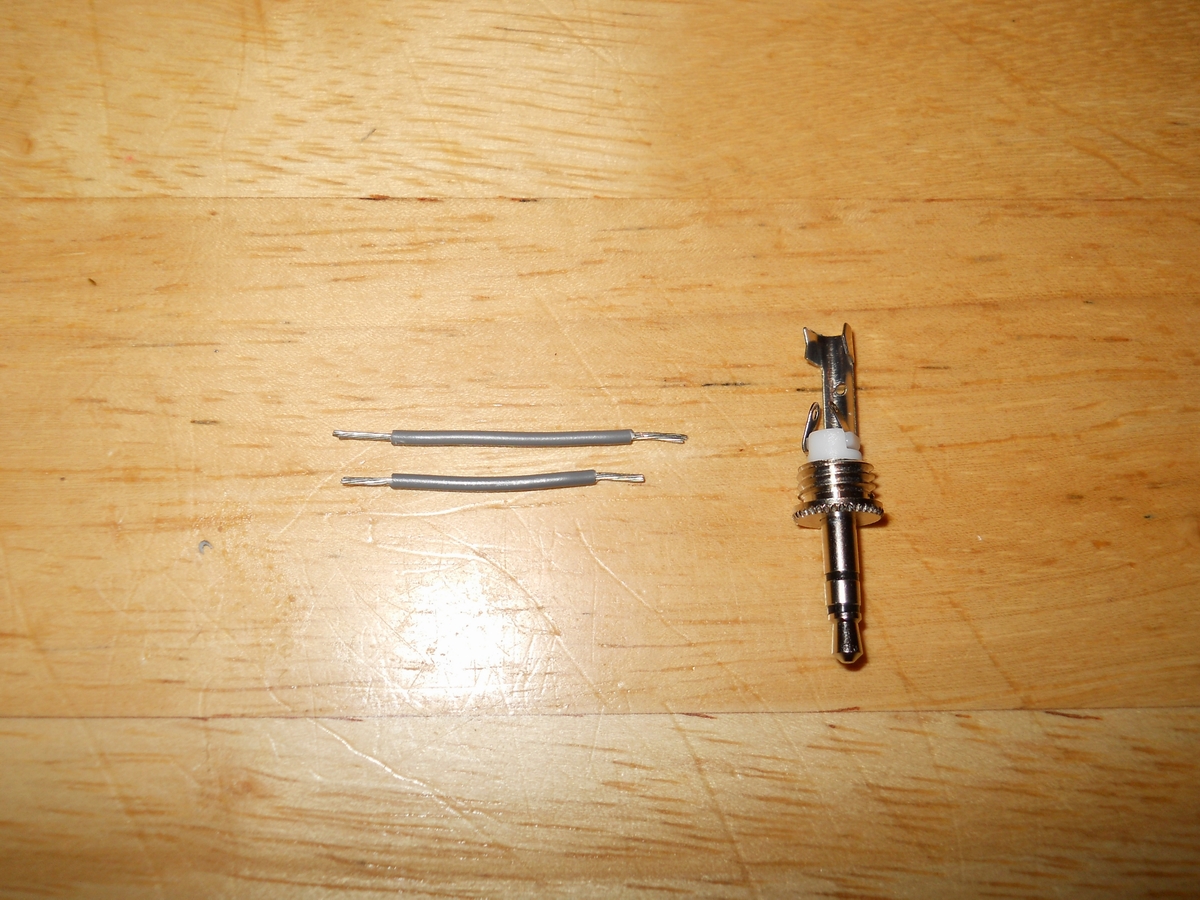
The wires cut to length and ready to solder in place.
Photos

This is the Kobitone Electret Microphone Capsule we are using, available from Mouser.com.
Here we show the wires soldered into place with the negative lead soldered to the high outer post, and the positive lead is passed through the left/right channel posts and soldered into place ganging the 2 channels into one.
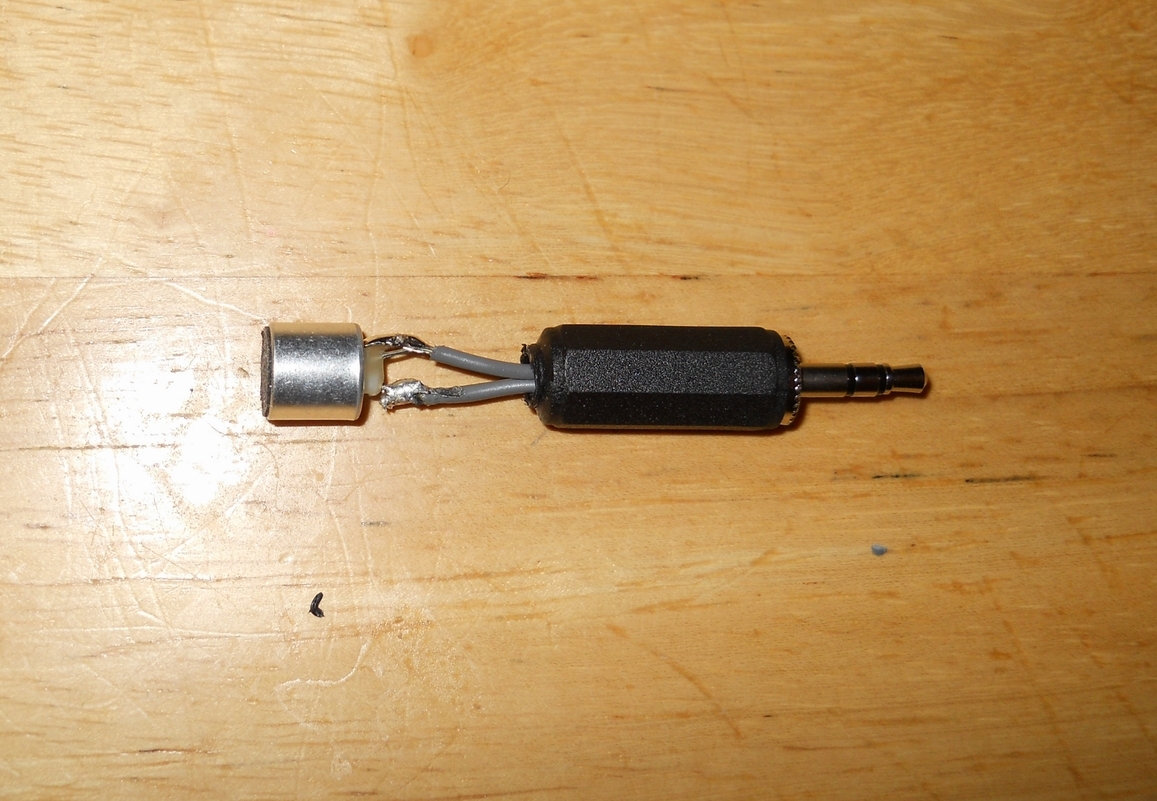
Here the plastic cover has been installed on the jack and the wires have been soldered to the correct posts on the mic capsule.
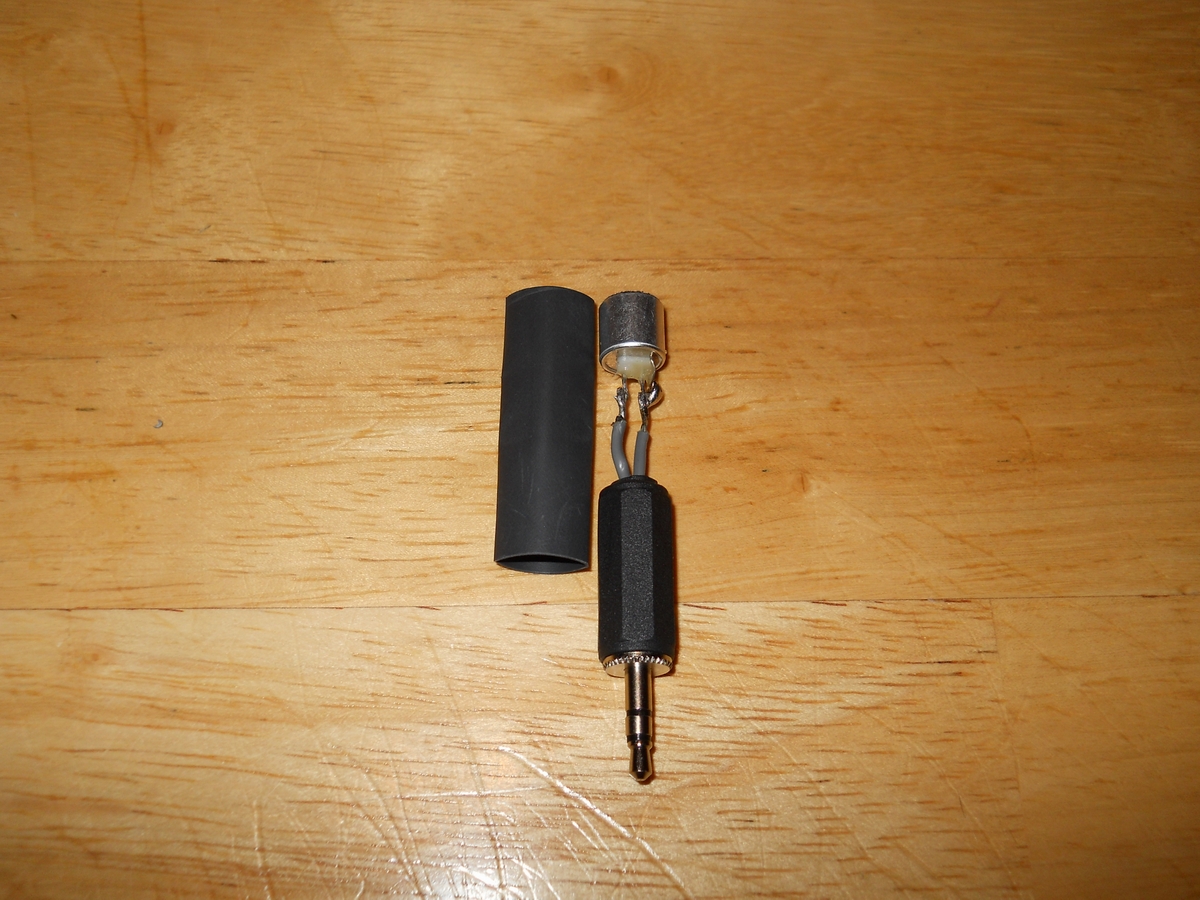
This picture shows the 3/8ths inch heat shrink which will just slide over the mic capsule and the jack cover.
The finshed product ready for use.
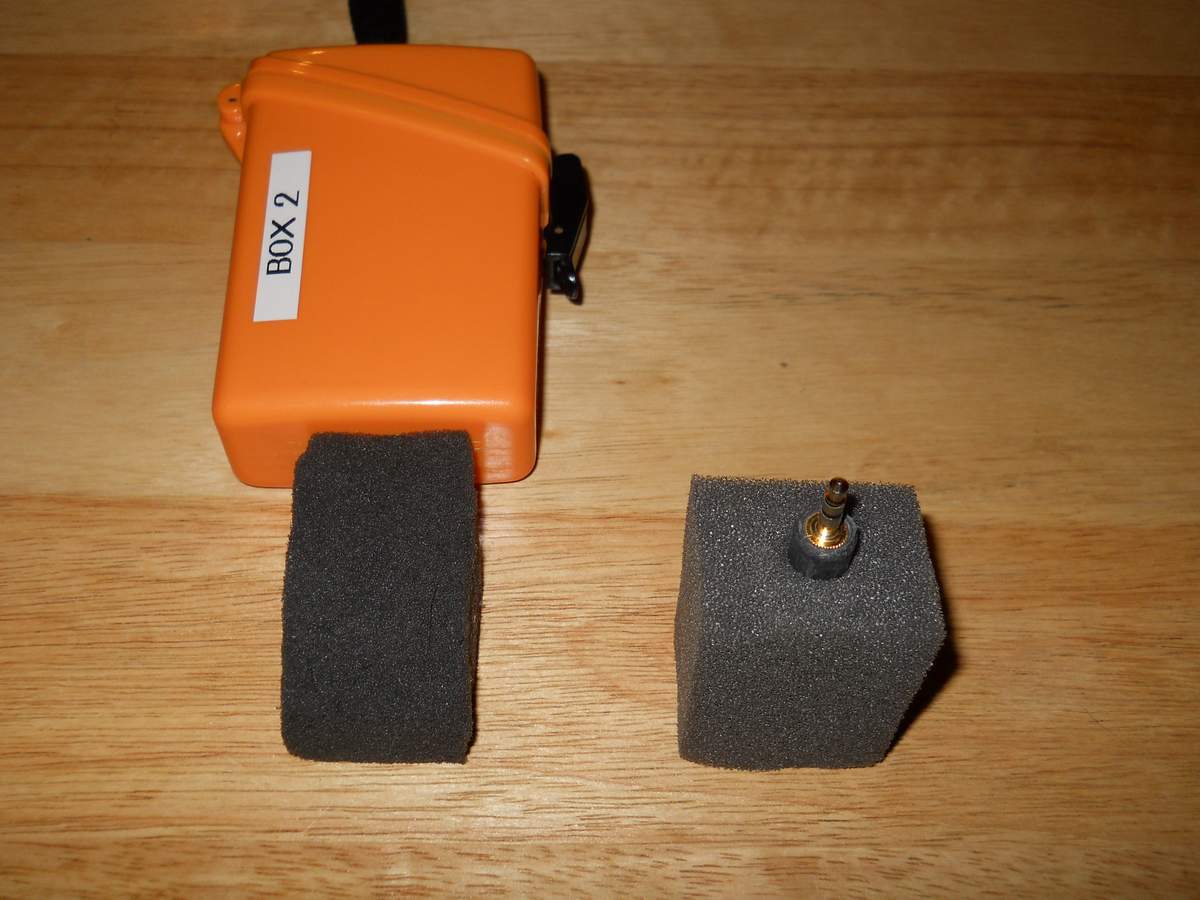
An example of a foam block used to cut wind noise and keep moisture off the mic electronics.